
-

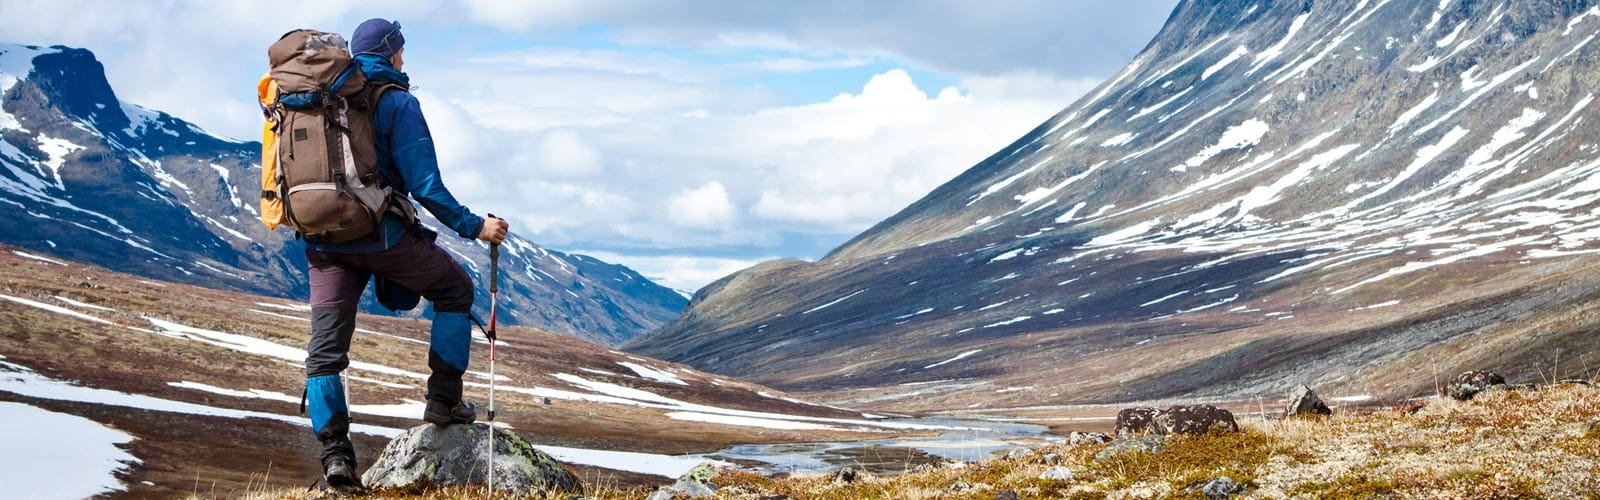
If you hike, backpack, snowshoe or climb mountains, there are several benefits to owning a pair of trekking poles. The primary benefit is that they help maintain balance and stability on rugged, snowy and muddy terrain, especially if you’re carrying a heavy pack. Have you ever found yourself instinctively reaching your hands out during a precarious section of the trail, just in case you stumble? With a trekking pole in each hand, if one foot slips, you’ll still have three other contact points on the ground instead of just one. There are several other benefits to consider also:
- Trekking poles distribute some of your body weight and pack weight to your arms, reducing some of the strain on legs, knees and ankles, especially during ascents and descents.
- Trekking poles aid in safely crossing shallow streams, scree, snow and other slick terrain.
- Trekking poles can double as tent poles to create a simple backcountry shelter.
-
Anti-Shock Trekking Poles
Anti-shock poles feature a special mechanism inside the shaft that compresses slightly as weight is applied to the pole. This helps dampen shock and reduce strain on wrists. On many anti-shock trekking poles, the spring mechanism can be switched on or off for more stability during steep ascents.
Standard Trekking Poles
Standard poles do not incorporate an anti-shock mechanism. Although they don’t absorb shock, they still provide the same level of added stability and are often a little lighter than a comparable anti-shock model.
Compact Trekking Poles
These poles are designed for shorter individuals and sometimes have a smaller grip. Compact poles are lighter and often collapse down smaller than full-size trekking poles.
Hiking Staff
A hiking staff is a single trekking pole designed for hiking on less challenging terrain, when only a small amount of extra stability is needed. For anyone who enjoys using a walking stick, a hiking staff is a nice upgrade. Some may incorporate an anti-shock mechanism, and a few even feature a camera mount hidden underneath the pommel, allowing you to use your hiking staff as a monopod for outdoor photography.
-
Not sure what kind of hiking poles will work best for your needs? Before you buy a pair, it’s a good idea to keep the following things in mind:
Step 1: Regular or Anti-Shock?
As we already mentioned, this feature is mostly a matter of personal preference. Poles with built-in anti-shock mechanisms are usually a little more expensive than standard poles, but the shock dampening can be beneficial on descents, when more impact is generated on the hands, wrists and forearms. Also, anti-shock trekking poles are recommended for hikers who have sustained a wrist injury in the past or who suffer from arthritis.
Step 2: Choose a Pole Length
Most poles adjust from about 25-55 inches in length. Taller individuals should choose standard length poles. Shorter individuals and children may prefer compact trekking poles.
Step 3: Choose a Shaft Material
The most common shaft types are aluminum and carbon fiber. Aluminum poles are strong and the most affordable. Carbon fiber trekking poles are lighter than aluminum, but will be a little more expensive.
Step 4: Choose a Grip Material
The type of grip you choose mostly boils down to personal preference. However, some grips have specific benefits or drawbacks. Below is a list of the most common trekking pole grips available:
- Cork tends to be a little more expensive, but is considered superior by many hikers because of its texture, durability and look. Some people say that cork grips tend to feel less sweaty in hot weather compared to other materials.
- Polyethylene is a good all-around choice. It has a slightly smoother texture than cork, but is quite durable and less expensive.
- Synthetic rubber provides a good gripping surface, but is better suited for cold weather. Compared to other materials, rubber may cause hands to sweat more in hot weather.
- EVA foam offers the most softness and cushioning, but may also cause hands to sweat more in hotter weather.
Note: Some trekking poles also offer an extended grip zone for more versatility, allowing you to quickly lower your grip without having to stop and shorten the pole length.
Other Features to Consider: Wrist Straps, Baskets and Tips
Although they may not seem necessary at first, wrist straps are actually an essential component. With proper adjustment, wrist straps will help distribute the load from the hands and fingers to the forearms, helping prevent grip fatigue. Most trekking poles come with a small removable basket, which is important if you’ll be using your poles on very soft or muddy terrain, or navigating through snow fields. Larger baskets may also be included or purchased separately for snowshoeing and ski mountaineering in powdery snow. Carbide and steel are the two most common tip materials. Both are designed to bite into hard, rocky or icy surfaces. Carbide tips are harder than steel tips, but both provide very good traction and durability.
-
Before hitting the trail, you’ll need to set your trekking poles to the proper length. To do this, first loosen the locking mechanisms and completely extend the pole. Next, compress the pole until your elbow is at an approximate 90-degree angle. Once your arm is at the proper angle, close the locking mechanisms securely. Press on the pole a few times to make sure the locks are fully engaged before starting your hike. Some hikers also like to increase the pole length slightly when hiking downhill and decrease it slightly for hiking uphill.
Tip: Be sure not to overextend your poles when extending each section. Most poles have a mark on the shaft to indicate the farthest point of extension for that section. Extending the shaft beyond this point will make your poles less structurally stable, which could cause them to buckle under a high load.