-
There are many things to consider when it comes to choosing a camping stove, including fuel type, fuel availability, cooking efficiency, cost, size and weight. There are about seven primary types of camp stoves available to choose from: 1) canister stoves (i.e. isobutane and propane stoves), 2) white gas stoves, 3) kerosene stoves, 4) multi-fuel stoves, 5) solid fuel stoves, 6) alcohol stoves and 7) wood-burning stoves.
Want more info on the pros and cons of these different camping stoves? Check out our Camping Stove Guide.
-
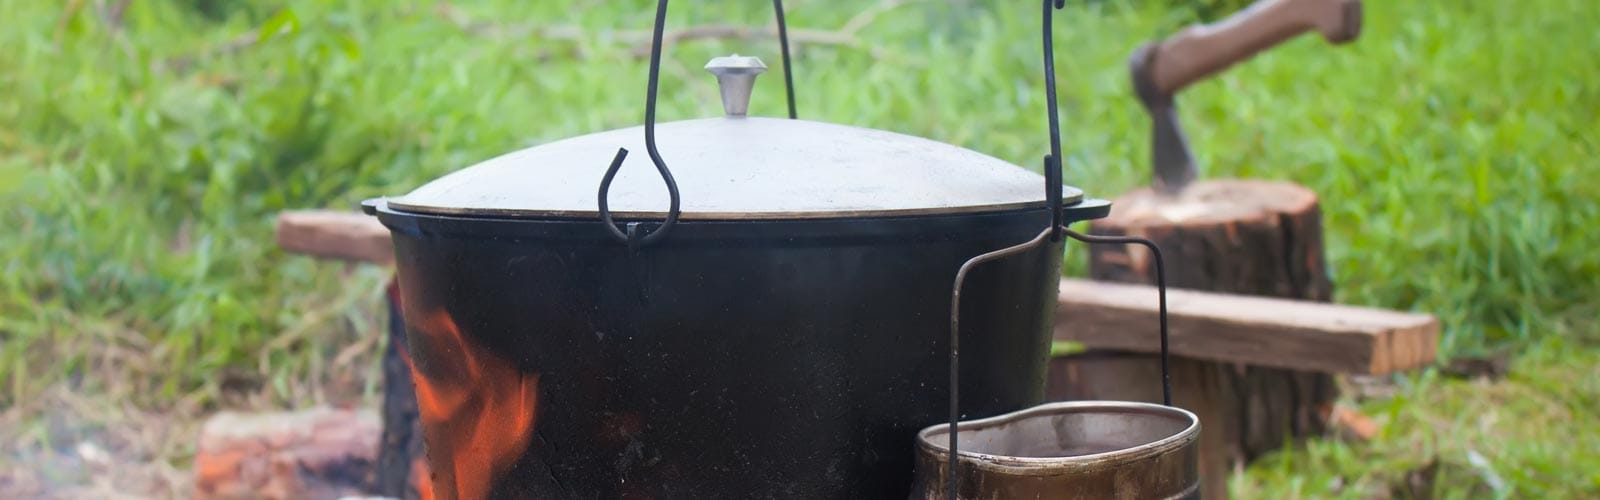
Although cooking over a campfire is trickier and less efficient than using a camp stove, there is still something to be said about keeping it old-school. For some people, campfire cooking simply involves sharpening a stick and roasting a hot dog, followed by a few hot, gooey s’mores. For the truly industrious campfire gourmet, a Dutch oven can be used to make hearty, delicious campfire meals and deserts. From homemade stews to succulent cobblers, there are a wide variety of awesome recipes and cookbooks available. Just be aware that preparation can be time consuming, since you’ll need a good supply of hot coals before you can get cooking. To get things moving faster, you can always use charcoal briquettes.
Dutch Oven Cooking Tips
- Uncoated cast iron Dutch ovens must be “cured” or “seasoned” before you can use them. This is done by heating the oven and wiping it with cooking oil. The seasoning protects the oven from rust and creates a nonstick surface on the inside. If you buy a used Dutch oven, make sure to check the seasoning. If there are any rusty spots, you’ll need to scour them with fine-grit sandpaper or steel wool. Then wash and re-season your Dutch oven.
- Don’t wash an uncoated cast iron Dutch oven with harsh abrasives or scouring pads, as this will break down the seasoning. Hot soapy water and a cotton wash rag should be enough to get your oven clean. A small plastic scraper can help remove any baked-on bits. (Just let it soak first). Once it’s dry, apply a light coating of cooking oil to help maintain the seasoning.
- A pair of thick, loose-fitting leather gloves works much better than a fabric pot holder when you’re cooking outdoors with a Dutch oven. If your Dutch oven doesn’t have a handle on the lid, you’ll want to get a lid lifer (although a basic pair of plyers will work). You’ll also want a small trowel or metal tongs to place hot coals or charcoal briquettes.
- For detailed instructions on seasoning your Dutch oven and other great tips, check out “Seven Secrets of Dutch Oven Cooking” by Roger Beattie.
-
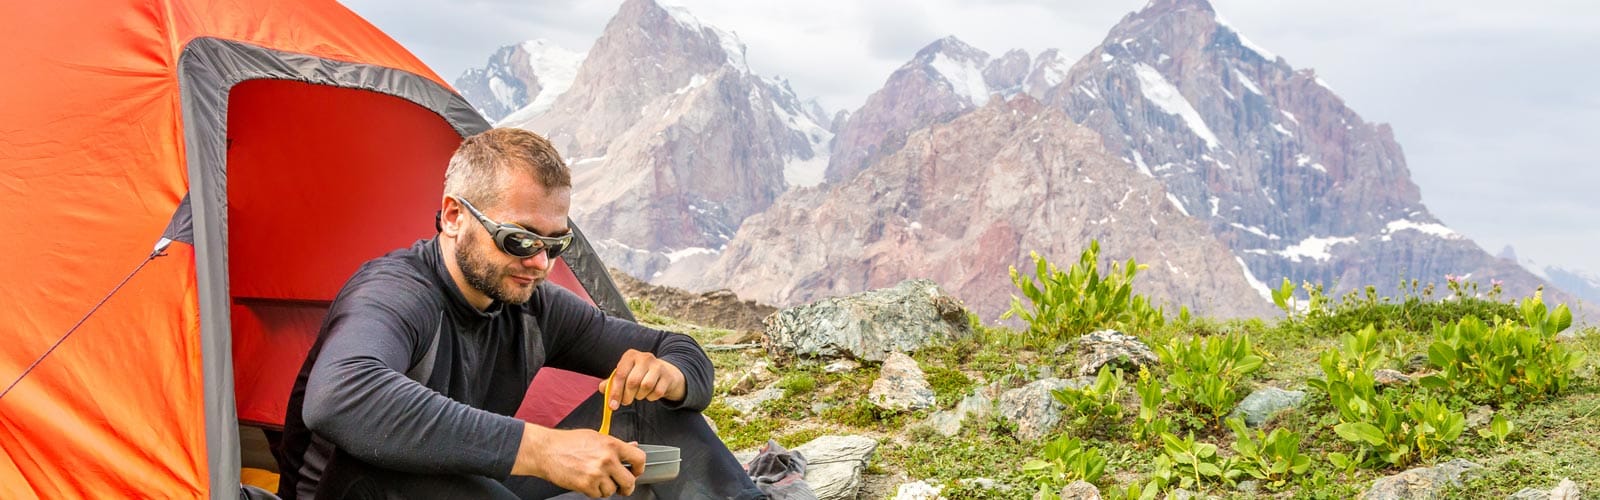
When you’re carrying everything you’ll need into the backcountry for multiple days, meal planning becomes a little trickier. Of course, just because you want to minimize weight doesn’t mean you have to subsist on granola bars and trail mix.
Backcountry Cooking Tips
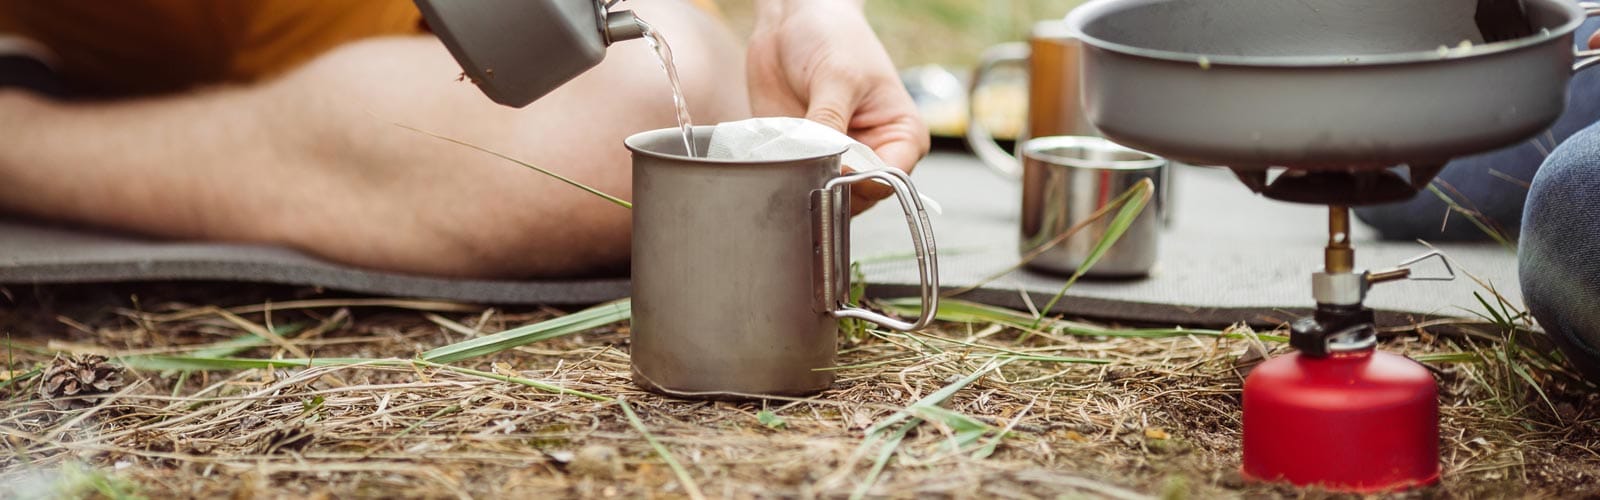
- Consider investing in a lightweight, compact backpacking stove. You can also save money by making your own alcohol stove from a soda can. Check out Zen and the Art of the Alcohol Stove for more info. You’ll also need a small cook pot with a lid and some lightweight utensils.
- Don’t forget a wind screen for your stove. You can make one at home using heavy-duty aluminum foil. A wind screen will make your stove cook much more efficiently in breezy conditions and reduce cooking time.
- Research water sources in advance and carry a water filter or purifier. This way you don’t have to carry more than one day’s worth of water. You can purify water using your stove, but it’s much faster if you have a filter. If possible, find a camping location that is close to a water source, so you don’t have to walk very far to access more water. (Just make sure your campsite is not in a potential floodplain).
- You’ll burn a lot more calories on a backpacking trip, so it’s important to plan accordingly. High-calorie foods like peanut butter, nuts, dried fruit, tortillas and pasta are ideal for backpacking.
- It’s a good idea to keep canned foods to a minimum. If you do bring a few canned items, eat them first so you’re not carrying heavy cans around for multiple days. (Of course, you’ll still have to pack out the empty containers).
- Although dehydrated backpacking meals aren’t cheap, they are easy to prepare and very lightweight. If you backpack often, it might be worth investing in a dehydrator so you can make your own dehydrated backpacking meals. There are many good recipes available online.
-
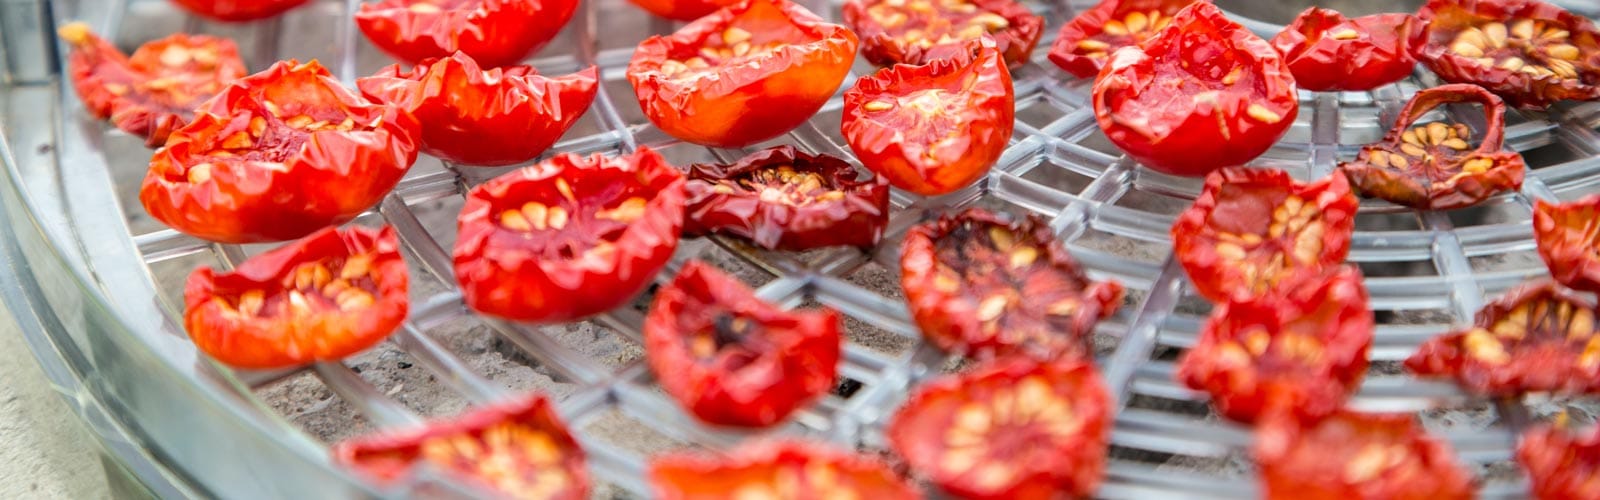
When it comes to cutting pack weight and maximizing convenience, dehydrated foods can be a backpacker’s best friend. Most of the weight in vegetables, fruits and meats is water, so dehydrating can provide significant savings. If you only go backpacking once or twice a year, you’re probably fine buying pre-made dehydrated or freeze-dried meals. However, if you take a lot of trips, it might be worth investing in your own dehydrator.
Food Dehydrating Tips
- Temperature settings and drying times can vary greatly for different foods and for different dehydrators. Always follow drying instructions in your booklet closely. When in doubt, it’s better to over-dehydrate than under-dehydrate.
- If you’re using a dehydrator with multiple trays and you’ve noticed that your food isn’t dehydrating evenly, try rotating and restacking your trays halfway through the drying cycle.
- Store your dehydrated food in zip-lock bags or some other air-tight container. For added protection from molding (especially if you plan on storing your dried food for a longer period of time) consider purchasing FDA-approved, food-grade desiccant packs. Using a vacuum sealer will also help preserve dehydrated foods for longer.
- When dehydrating meats, it’s very important to prepare the meat correctly and practice safe food handling in the kitchen. Preparation varies depending on whether you’re dehydrating beef, venison, poultry or fish. To avoid a potential health hazard, always cut meat into thin strips before dehydrating. Remove as much fat as possible, as fatty meat will become rancid more quickly than lean meat.
- If you’re making multi-portion dehydrated meals, determine how many portions you’ve prepared before you start dehydrating. Once the food is dried, it can be harder to determine how many portions you have, since dehydrated foods expand as they rehydrate.
-
Looking for some outdoor grub ideas? You can actually find a variety of great camping recipes and super-simple backpacking recipes on our YouTube channel. We’ve also posted a few of our favorites right here to help get you started.
Cinna-Raisin Crunch Breakfast
Trailside Chicken and Rice
Cheesy Bacon Taters